Large-Format Banner Size and Resolution: What You Need to Know
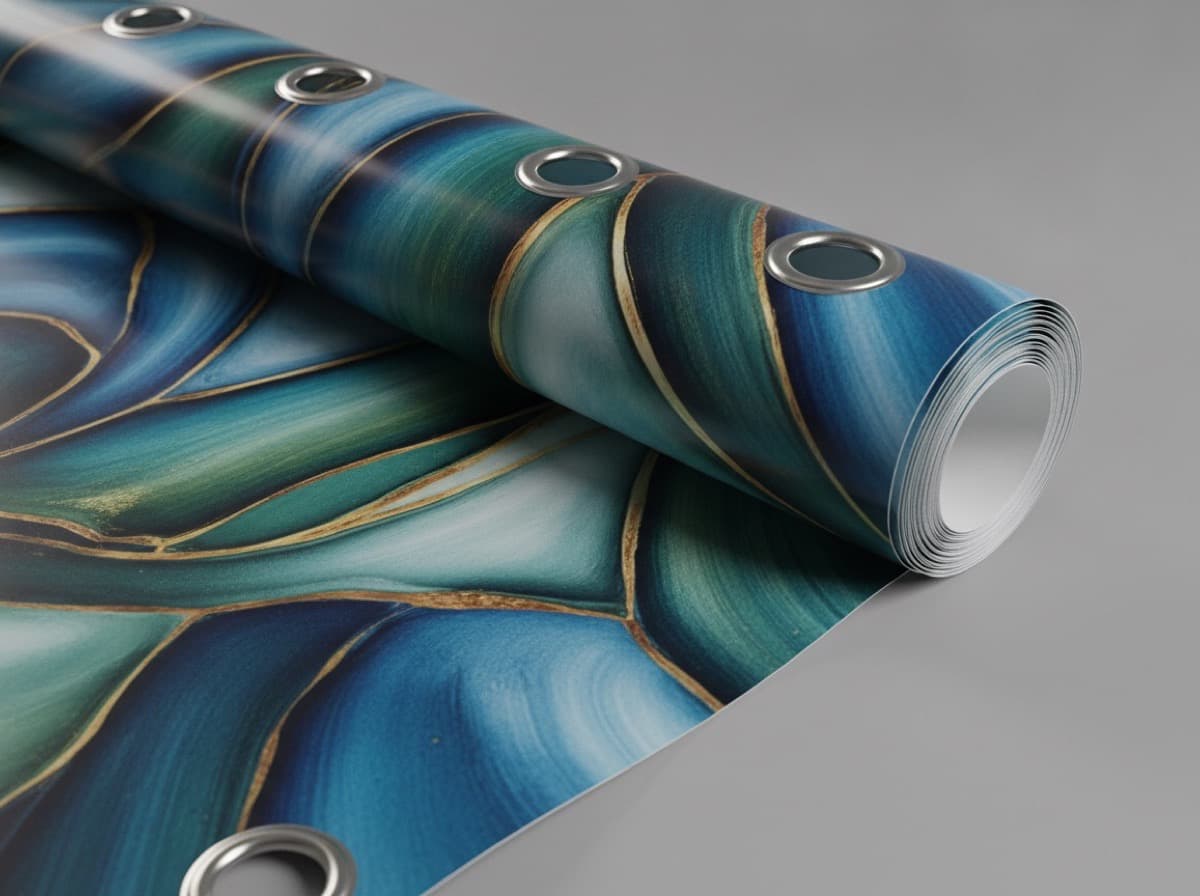
If you've ever submitted a banner design and been told the resolution is too low — or been surprised that a massive banner was approved at a seemingly low DPI — you're not alone. Large-format printing operates by different resolution rules than standard business cards or flyers, and understanding why will save you a lot of back-and-forth.

The Core Principle: Viewing Distance Determines Required Resolution
A business card is held about 12 inches from your eyes, so 300 DPI is necessary for crisp detail. A building wrap, on the other hand, is viewed from tens of feet away — your eye simply cannot distinguish individual pixels at that distance. That's why large-format printing tolerates much lower DPI values.
Recommended Resolution by Viewing Distance
| Viewing Distance | Recommended DPI (at actual print size) | Example | |-----------------|----------------------------------------|--------| | Under 3 ft | 150–300 DPI | Tabletop displays, indoor close-up signage | | 6–15 ft | 100–150 DPI | Storefront banners | | 15–65 ft | 72–100 DPI | Street-level horizontal banners | | 65 ft and beyond | 25–72 DPI | Building wraps, large outdoor advertising |
Working at Actual Print Size
The cleanest approach is to create your canvas at the exact output dimensions (e.g., 16 ft × 3 ft). For very large formats, however, this produces unmanageably large files. A common workaround is to work at a 1:10 scale (1.6 ft × 0.3 ft) and set the resolution 10× higher (e.g., 720 DPI). When the file is scaled up 10× at output, the effective resolution remains the same.

Color Mode and File Format
- Color mode: Work in CMYK — submitting RGB files will result in a color shift when converted
- File format: Vector artwork as PDF or AI; photo-heavy designs as high-resolution TIFF or JPG
- Safe zones: Keep critical content away from hem and grommet areas
- Fonts: Outline all text before submitting to prevent font substitution
File Preparation Checklist
- [ ] Color mode set to CMYK
- [ ] Canvas at actual size, or scaled with proportionally increased DPI
- [ ] DPI appropriate for the intended viewing distance
- [ ] All fonts converted to outlines
- [ ] Safe zones respected around hems and grommets
- [ ] Source images have sufficient native pixel count (verify before scaling up)
Pro tip: A small image stretched to fill a large banner will look soft even at the right DPI number. What really matters is the total pixel count of the original image, not just the DPI setting.
Frequently Asked Questions
Is 72 DPI always poor quality?
Not at all. For large banners viewed from a distance, 72 DPI or even lower is perfectly sharp to the human eye. DPI only has meaning in context — consider the actual print dimensions and the intended viewing distance together.
Can I use smartphone photos for large banners?
Modern smartphones capture enough pixels for mid-size formats. The main risk is photos taken in low light with heavy noise — those will look rough when scaled up significantly. Check the native pixel dimensions before committing.
My file is too large to upload. What should I do?
Switch to the scaled-down canvas with proportionally higher DPI, or save as a compressed PDF to reduce file size. If the file is still too large, share it via a cloud storage link rather than a direct upload.
Get 10% off your first order
Join our list for practical printing guides, new finish ideas, and a welcome coupon for your first order.
No spam. Unsubscribe anytime.
Printing posters or paper displays for your event?
Browse Posters & DisplaysWe print posters and paper displays. Vinyl and mesh banners are not in our lineup.
Not sure which option fits? Ask Pro Card Crafters