How to Order Business Cards: A First-Time Buyer's Complete Guide
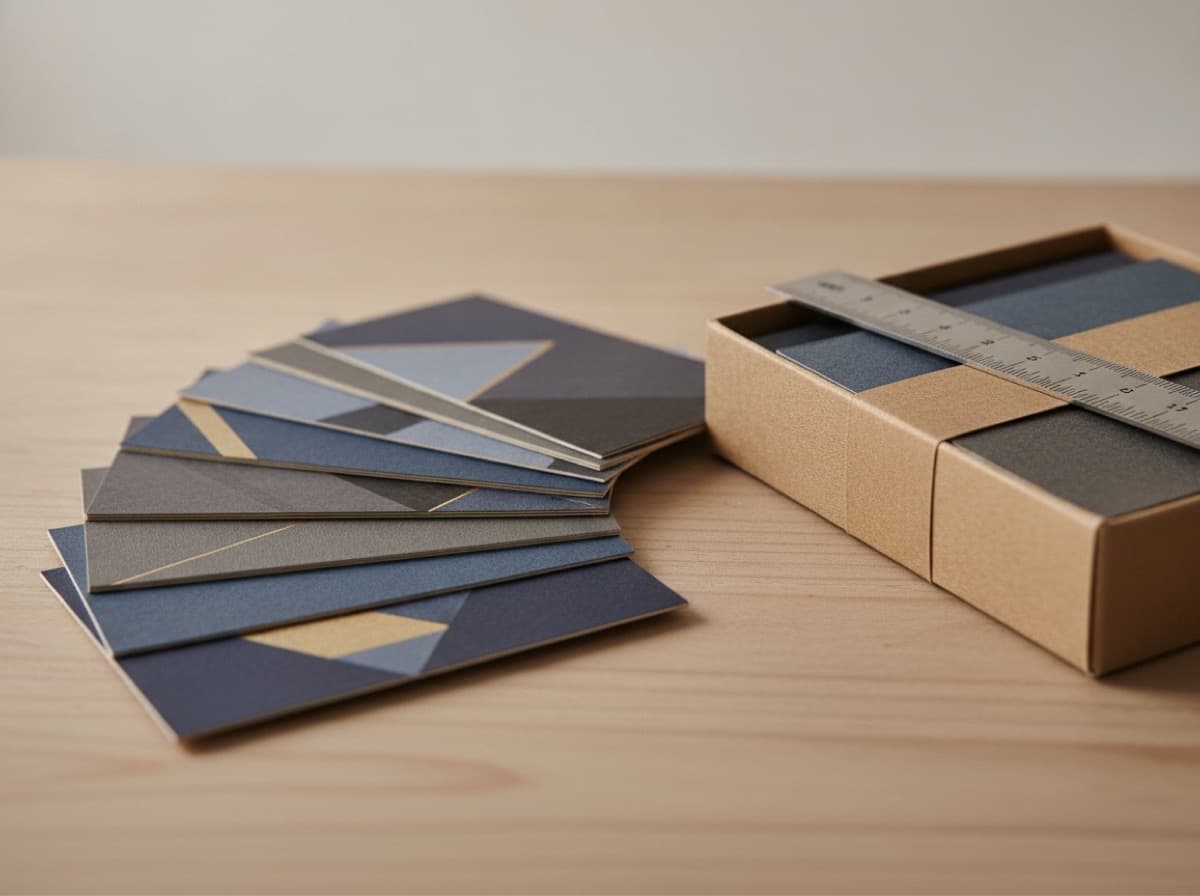
Ordering business cards for the first time can feel overwhelming — there are more decisions than you might expect. Paper stock. Matte vs. glossy. Bleed marks. PDF export settings. 250 or 500? Turnaround time? This guide takes you through every step so your first order goes smoothly and arrives exactly as you imagined.
Step 1: Gather Your Information
Before you open any design tool, decide what goes on your card. The standard business card contains:
Essential information:
- Your full name
- Your title / role
- Company name (if applicable)
- Phone number (mobile recommended over office in most cases)
- Email address
- Website URL
Optional but valuable:
- Social media handles (LinkedIn, Instagram — pick one or two that matter for your industry)
- QR code linking to your portfolio, menu, booking page, or LinkedIn profile
- Physical address (only if you have a customer-facing location)
- Tagline or value proposition (one short line)
- Logo
What NOT to put on a business card:
- Long descriptions — you have a conversation for that
- Every social platform you're on — pick the ones relevant to your industry
- Your home address if you work from home — use just the city/state
- Your fax number (unless you work in healthcare or law where it's still standard)
Step 2: Choose Your Card Dimensions
Standard US business card size is 3.5" × 2" (89mm × 51mm). This is the size that fits in every business card holder, wallet slot, and card case in North America. Stick with this unless you have a specific reason to differentiate.
Other common sizes:
- Square cards (2.5" × 2.5"): Eye-catching, won't fit in standard card holders
- Mini cards (3.5" × 1.75"): Compact, different feel
- Folded cards (3.5" × 4" folded to 3.5" × 2"): More space for content
For your first order, start with the standard 3.5" × 2" horizontal format. You can experiment with alternatives once you know what you're looking for.
Step 3: Design Your Card (or Hire Someone)
Design yourself:
- Canva — the easiest starting point with many templates and a free plan
- Adobe Illustrator or InDesign — professional tools, steeper learning curve, required for logo work and production-quality output
- Figma — popular for designers; requires export to print-ready PDF
Hire a designer:
- Fiverr — affordable, range of quality
- 99designs — higher quality, contest-based or direct hire
- Local graphic designers — best for brand work that extends beyond cards
Key design rules:
- Bleed: extend your background color/image 0.125" (1/8 inch) beyond the card edge (see our [bleed guide])
- Safe zone: keep all important text and logos at least 0.125" inside the card edge
- Font size: minimum 7pt for body text; 8-10pt for most text; 12pt+ for your name
- CMYK color mode (not RGB — see our [CMYK guide])
Step 4: Choose Your Paper Stock and Finish
This is where many first-time buyers get confused. Here's a quick guide:
Paper weight:
- 14pt cardstock — standard, most common business card weight; feels solid and professional
- 16pt cardstock — thicker, more premium feel
- 32pt / double thick / triplex — ultra-premium; very substantial in hand
Finish options:
- Gloss (UV coating) — shiny, vibrant colors, fingerprint-prone, difficult to write on; great for colorful designs and photos
- Matte — flat, sophisticated, non-glare, easy to write on; excellent for professional services
- Soft-touch matte (velvet) — velvety texture, premium feel, luxury aesthetic
- Spot UV — matte base with gloss accents on specific areas (logos, text); high-end look
- Uncoated — natural paper feel, easiest to write on; used for simple, natural-feeling cards
Recommendation for first-time buyers: 14pt matte is a safe, professional starting point. It photographs well, feels professional, and works across industries.
Step 5: Choose Your Quantity
Business card pricing follows a strong economy-of-scale curve:
- 100 cards — suitable for testing a new design or very occasional use
- 250 cards — a good first order; enough to distribute without waste risk
- 500 cards — the most common order; cost per card drops significantly vs. 250
- 1,000 cards — best per-card value; appropriate if you network frequently
For most professionals ordering for the first time, 250-500 cards is the right starting quantity. You want enough to distribute freely without hoarding, but not so many that you'll feel stuck with a design you might want to update.
Step 6: Choose Your Turnaround Time
Standard options at most print shops:
- Same-day / next-day: Emergency option; premium price; requires local print shop or very fast online printer
- 3-5 business days: Standard turnaround at online printers
- 7-10 business days: Economy turnaround; lowest price
- 2-week estimate to you: Includes shipping time — budget for this when planning for events
Tip: Order your cards at least 2 weeks before any event where you'll need them. Rush orders exist, but they cost significantly more and add stress.
Step 7: Prepare Your File for Upload
The safe, universally-accepted format: PDF/X-1a
- Export from Illustrator: File → Save As → Adobe PDF → PDF/X-1a
- Flattens transparency, embeds fonts, enforces CMYK
- Most print shops accept this without issues
Alternative formats accepted by most printers:
- PDF (any version) — widely accepted
- TIFF — print-quality images only
- JPEG — only if at 300 DPI resolution at print size
Resolution: 300 DPI minimum — images must be 300 DPI at the final print size. Screen images at 72-96 DPI will look pixelated when printed.
Critical checklist before upload:
- [ ] CMYK color mode (not RGB)
- [ ] Bleed included (0.125" on all sides)
- [ ] Fonts embedded (not linked)
- [ ] Images are 300 DPI
- [ ] PDF exported (not PSD, not Canva PNG for production orders)
Step 8: Proof Your Order
Every reputable print shop will show you a digital proof before printing. Always review this proof carefully:
- Is all text readable and positioned correctly?
- Are there any typos? (Have someone else read it — you're blind to your own typos)
- Do the colors look as expected? (Remember: your screen is RGB; CMYK will differ slightly)
- Is the bleed area correctly set up?
- Are the front and back oriented correctly?
If anything looks wrong on the proof, stop and fix it. A few minutes of review can save the cost and time of reprinting.
Step 9: Place Your Order
Standard things you'll need:
- Your payment method (credit/debit card)
- A shipping address
- The file(s) for front (and back, if double-sided)
Double-sided cards: Most online printers offer double-sided at a small premium. The back of your card is valuable real estate — use it for your service list, QR code, appointment reminder area, or a strong visual.
Common First-Time Buyer Mistakes to Avoid
- Ordering RGB files — Always convert to CMYK first
- No bleed — Backgrounds that go to the card edge must extend 0.125" beyond
- Low-resolution images — 72 DPI screen images look blurry in print
- Too much text — A business card is a pointer, not a brochure
- Ordering 1,000 cards before testing the design — Start with 250 to validate
- Not proofing for typos — Get a second pair of eyes before ordering
- Rushing the order — Give yourself 2+ weeks for standard events
Your first business card order is a milestone — it's the physical representation of your professional identity. Take your time with the design, check your file carefully, and choose quality paper that matches the impression you want to make.
Get 10% off your first order
Join our list for practical printing guides, new finish ideas, and a welcome coupon for your first order.
No spam. Unsubscribe anytime.
Ready to start your print order?
Browse Printing ProductsNot sure which option fits? Ask Pro Card Crafters