Wedding Invitation & Event Postcard Printing Guide
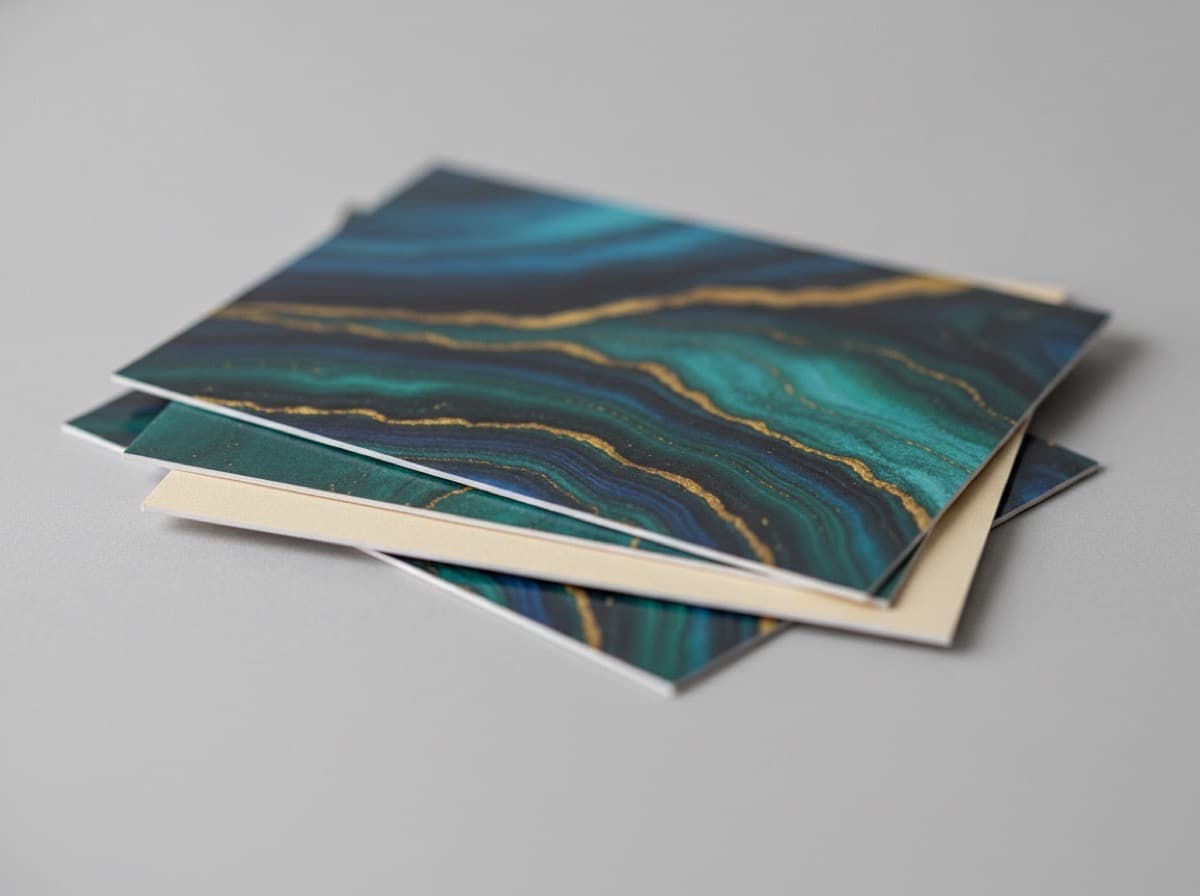
Postcard-style wedding invitations and event invites are a clean, elegant way to communicate everything on a single card. They tend to cost less than folded formats and offer greater design freedom — but paper stock and finishing choices require some print knowledge to get right. This guide covers the essentials of postcard invitation production.

Choosing a Size
Postcard invitations are primarily handed out rather than mailed through the post, so you are not strictly tied to standard postal dimensions. The most commonly used sizes are 4 × 6 in (approximately 105 × 155 mm) and 4.75 × 7 in (approximately 120 × 175 mm). If the card will be placed in an envelope, size the card 0.125–0.25 in (3–5 mm) smaller than the envelope's interior on each dimension so it fits comfortably.
Envelope Matching
- 4 × 6 in postcard → A6 envelope (4.75 × 6.5 in) or equivalent
- 4.75 × 7 in postcard → 5 × 7 in envelope or equivalent
- Matching the envelope color or tone to the postcard design elevates the overall presentation
Choosing a Paper Stock
The tactile feel of an invitation in someone's hand shapes their first impression. Recommended stocks:
| Stock | Characteristics | Recommended Weight | |-------|-----------------|-------------------| | Soft-touch uncoated (e.g., Mohawk Felt) | Smooth, luxurious matte texture | 100–110 lb cover (270–300 GSM) | | Smooth bright white coated | Crisp white surface, vivid color reproduction | 100–110 lb cover (270–300 GSM) | | Natural / warm-toned uncoated | Subtle off-white warmth, organic feel | 100–110 lb cover (270–300 GSM) |
For formal wedding invitations, a premium uncoated stock (soft-touch or natural-tone) conveys elegance. If sharp photo reproduction is a priority, a smooth coated stock is the better choice.
Elevating the Design with Finishing

The luxury of an invitation is largely determined by its finishing options.
- Foil stamping (gold, silver, or custom): Adds a metallic accent to names, monograms, or decorative elements
- Embossing / debossing: Presses text or imagery into the paper for a tactile, dimensional effect
- Spot UV / epoxy coating: A high-gloss coating applied selectively to highlight specific areas
- Rounded corners (corner rounding): Softens the card edges for a polished, refined look
Finishing options add both cost and production time, so request pricing and lead time estimates before committing.
Order Timeline Checklist
- Event D-30: Finalize design concept
- D-21: Submit print-ready files (verify bleed and safe zone)
- D-14: Place final order, including all finishing options
- D-7: Receive and inspect the printed cards
- D-5: Begin addressing envelopes and sending
Orders that include specialty finishing typically require 3–5 additional business days compared to standard print runs — build that buffer into your timeline.
Frequently Asked Questions
How should I set up artwork for foil stamping?
The foil area should be separated onto its own layer and filled with 100% black (K100). Most printers require a separate foil artwork file in addition to the main design file — check the printer's file guidelines to ensure the foil is placed exactly where intended.
Will text show through on a double-sided card?
With a card stock of 100 lb cover (270 GSM) or heavier, bleed-through on a two-sided print is minimal. If one side has a heavy, dark coverage and the other has a white background, there may be very slight show-through — increase the paper weight or adjust the color placement if this is a concern.
Get 10% off your first order
Join our list for practical printing guides, new finish ideas, and a welcome coupon for your first order.
No spam. Unsubscribe anytime.