Double Sided Business Cards A Complete Guide to Designing and Printing Two Sided Professional Cards
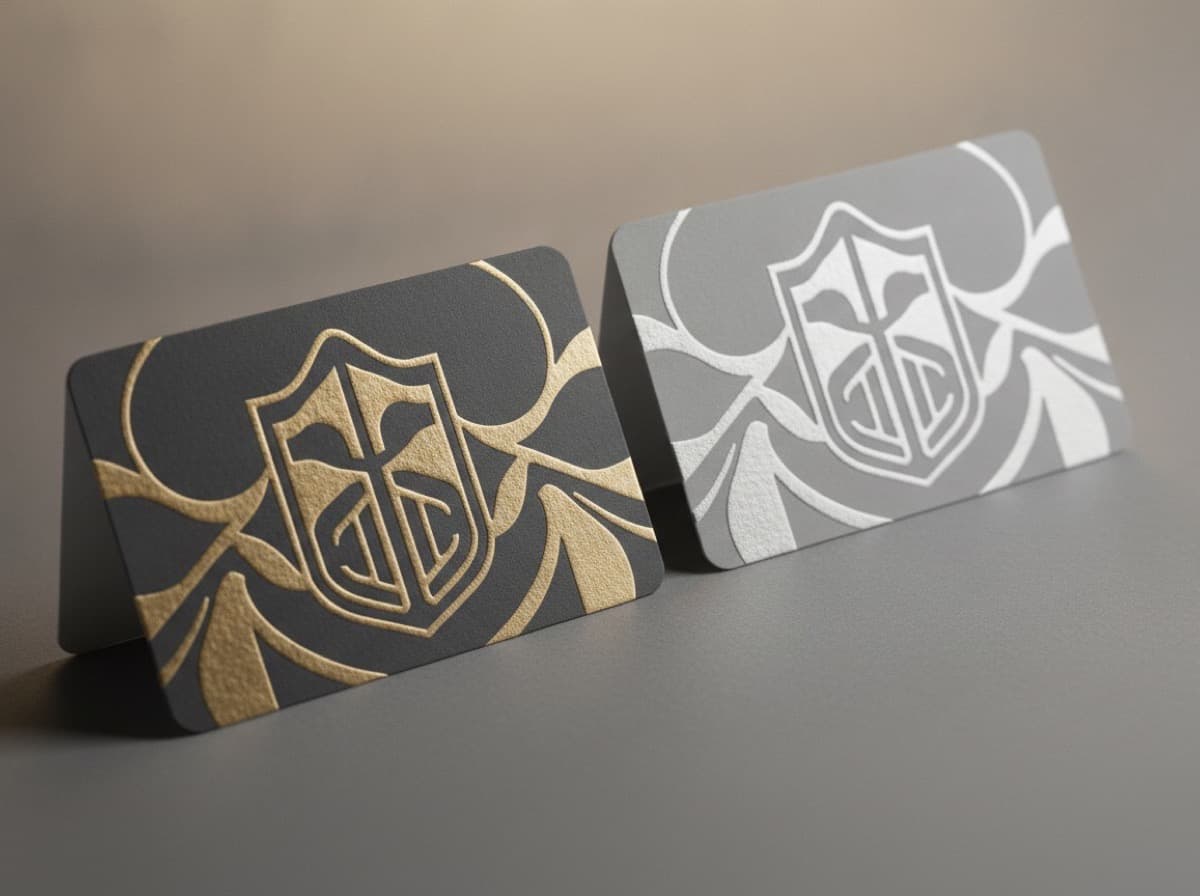
Every business card has two sides — but many professionals leave the back blank, giving up 50% of their card's communication real estate for no reason. A well-designed double-sided business card uses the front for identity and the back for value: a service list that makes the card useful to keep, a portfolio thumbnail that demonstrates your work, a map that helps clients find you, or a QR code that connects the physical card to your digital world.
The Strategic Case for Two-Sided Cards
The front of a business card is your first impression: your name, your company, your title, your contact information. The back of a business card is what determines whether someone keeps the card after the first impression fades.
Cards that are useful get kept. Cards that are just identity get filed or discarded. The back side of your card can answer the question: "Why would I keep this?"
When two-sided cards are essential:
- You offer multiple services and need to list them (contractors, consultants, healthcare providers)
- Your profession requires navigation to your location (medical offices, retail, restaurants)
- You work in a visual field and a small portfolio image makes a compelling impression (photographers, designers, architects)
- You want to include a QR code for digital connection without cluttering the front
- You use your card as a reference tool (menus, appointment reminders, conversion tables)
When one-sided cards are appropriate:
- Minimalist brand identity where white space is intentional
- Situations where the card back is used for handwritten notes
- Cards that will be stamped on the back (loyalty cards, appointment cards)
- When the front contains everything the recipient needs and clutter on the back would dilute the front's impact
Front Panel Design
The front panel carries your essential identity information. Keep it clean and focused:
What Belongs on the Front
Required:
- Your name (the most important element; largest or second-largest text)
- Your professional title or role
- Your company/organization name (if applicable)
- Phone number
- Email address
- Website URL (or QR code if you prefer)
Optional (front):
- Business logo (strongly recommended if you have a professional logo)
- Social media handle (one primary platform only)
- Your headshot (appropriate for professions where personal recognition matters: real estate, financial advisory, sales)
- Brief tagline (4–7 words maximum; only if genuinely informative)
Front Panel Design Principles
Hierarchy: Name → Company → Title → Contact. Visitors read in order of visual weight; use font size and weight to guide them.
White space: Resist the impulse to fill every available space on the front. White space makes remaining elements more readable and gives the card breathing room. A cluttered front panel is harder to read and less professional than a focused one.
Single-sided front option: Many designers recommend putting only the absolute essentials on the front and saving everything else for the back — even if that means the front has fewer than 5 elements. A bold, memorable front with just name, logo, and primary contact information makes a stronger first impression than a front crowded with information.
Back Panel Design Strategies
The back panel is your opportunity to provide value and context. Choose a strategy that serves your professional context:
Strategy 1: Service Menu
The most common and universally useful back-panel strategy for service businesses:
- List 6–12 core services in a clean, scannable format
- Group related services if you offer many
- Use brief labels, not full descriptions
- Can be formatted as a bulleted list, two-column list, or simple categories with sub-bullets
Best for: Contractors, healthcare providers, consultants, agencies, professional service firms — anyone whose clients regularly need to recall what you offer
Example:
SERVICES
• Residential Plumbing          • Emergency Repairs (24/7)
• Drain Cleaning                • Water Heater Service
• Sewer Line Inspection         • Gas Line Certified
• Bathroom Remodels             • Whole-Home Repiping
Strategy 2: Portfolio Thumbnail / Visual Showcase
A photo, illustration, or rendered image on the back that demonstrates your work:
- Photographers: 1–3 strongest portfolio images in a grid or single striking image
- Architects: Rendering or photo of a notable completed project
- Designers: Logo, brand identity, or illustration
- Contractors: Photo of completed residential project
- Artists: Example of their work
Best for: Visual professionals and creatives where showing is more powerful than telling
Design consideration: A single strong image is usually more effective than a grid of small images; ensure the image is high-resolution (300 dpi minimum) and that it's cropped to the exact card dimensions
Strategy 3: QR Code with Context
One or more QR codes with brief labels describing what they link to:
- Portfolio or project gallery
- Online booking / scheduling system
- LinkedIn profile
- YouTube channel or video reel
- Augmented reality business card experience
- Google Business Profile (for direct reviews)
Best for: Professionals who want to bridge physical and digital networking; QR codes are particularly useful when the card recipient is likely to immediately take a digital action
Design tip: Always include a brief descriptor below each QR code: "Book Appointment" / "View Portfolio" / "LinkedIn" — people don't scan unlabeled QR codes
Strategy 4: Location Map
A simplified map showing your office or practice location:
- Clean, hand-drawn style map or satellite-style simplified map
- Key landmarks labeled as navigation references
- Your location clearly marked
- "Parking Available on [Street]" or "Enter from [Side]" for practical navigation
Best for: Medical practices, dental offices, legal offices, retail stores, studios, and any professional practice where people navigate to your physical location
Strategy 5: Appointment Reminder Format
A structured form on the back that turns the business card into a practical appointment reminder:
Your Next Appointment:
Date: _______________  Time: _______________
Provider: ___________  Room/Suite: __________
24-hr reminder call / text: Yes / No
Questions to ask: ____________________
Best for: Healthcare providers, therapists, personal trainers, beauty and salon professionals, tutors, coaches — anyone whose clients make recurring appointments
Strategy 6: Social Proof and Trust Signals
Reviews, ratings, certifications, and trust credentials on the back:
- Google Business rating with star graphic: "4.9 ⭐ Average (300+ Reviews)"
- BBB accreditation badge
- Professional association memberships: "Member, National Association of Realtors"
- Awards and recognition: "Best of [City] 2024"
- Certifications: "Energy Star Certified | LEED Accredited"
- Years in business / founding year
- "Licensed | Bonded | Insured" (critical for contractors)
Best for: Any professional or service business competing for trust — particularly effective for contractors, healthcare, financial advisors, and real estate
Strategy 7: Multi-Language Content
Using the back panel to present the same information in a second language:
- Front: English (or primary local language)
- Back: Spanish, Mandarin, Cantonese, Korean, Vietnamese, Portuguese, etc.
Best for: Professionals serving bilingual or multilingual communities; healthcare providers; real estate agents; attorneys
Strategy 8: Minimal Brand Extension
A solid color back (matching a brand color), a pattern, or a large reversed-out logo:
- Solid color back with no text: pure brand statement; visually striking
- Brand pattern on back (geometric or illustrative pattern matching brand identity)
- Oversized logo reversed out of brand color
- Single powerful tagline centered on colored background
Best for: Businesses where strong visual brand identity is the primary value of the card back; design firms, marketing agencies, luxury brands; professionals who prefer the back to be a visual brand moment rather than a text-heavy information panel
Technical Considerations for Double-Sided Printing
File Setup
Two-sided cards require two separate files or a two-page PDF:
- Page 1: Front of card
- Page 2: Back of card
- Both must include bleed (1/8" or 3mm on all sides for full-bleed designs) and safe zone (1/8" inside the trim line for all critical elements)
- Both front and back must be in CMYK color mode at 300 dpi
Orientation alignment: Ensure you specify the orientation relationship between front and back:
- Head-to-head (top-to-top): Rotating the card on its long axis (horizontal flip) shows the back right-side up; this is the most common convention
- Head-to-foot: Rotating the card on its short axis (vertical flip) shows the back right-side up
- Communicate explicitly with your printer which orientation you need
Printing Process
Double-sided cards are printed on both sides of the paper stock; the drying/curing process between each side:
- Digital two-sided: Run through the press twice; some color variance between runs is possible
- Offset two-sided (perfecting): Print both sides in a single pass using a perfecting press; more consistent
Finishing Options for Two-Sided Cards
Laminate (both sides): Standard — apply the same laminate to both sides for durability and feel consistency
- Matte laminate both sides: professional and elegant; matte front/matte back
- Gloss laminate both sides: bright and vivid; gloss front/gloss back
- Soft touch laminate both sides: velvet-like tactile premium feel
Mixed finishing: It's possible to apply different finishes to front and back, though this is more expensive:
- Soft touch front / Gloss back: premium front with high-contrast portfolio image on back
- Matte front / Uncoated back: writable back (useful for appointment reminder format cards)
Spot UV on two-sided cards: Spot UV varnish can be applied to either or both sides; commonly applied to the front only to highlight logo or focal design elements
Cost of Two-Sided Cards
Two-sided printing typically adds:
- Digital printing: $5–$20 over one-sided for standard quantities (250–500 cards)
- Offset printing: Modest percentage increase for the perfecting print pass
For the value of double the communication real estate, two-sided printing is almost always worth the modest additional cost.
Get 10% off your first order
Join our list for practical printing guides, new finish ideas, and a welcome coupon for your first order.
No spam. Unsubscribe anytime.
Ready to bring this design to life?
Order Premium CardsNot sure which option fits? Ask Pro Card Crafters