Business Card Bleed and Safe Zone: How to Set Up Your Card File for Printing
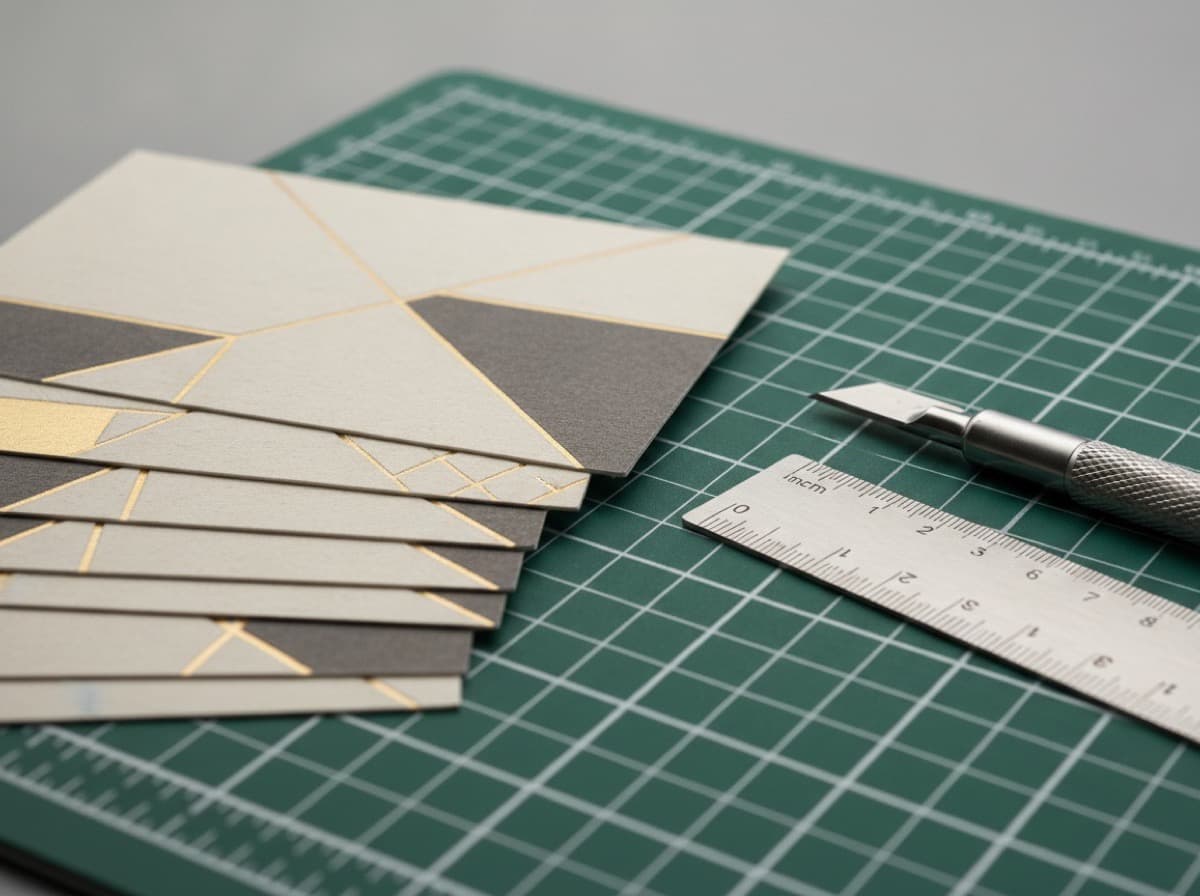
Bleed and safe zones are the invisible but essential technical specifications that determine whether your printed business card looks exactly like your design — or comes back from the printer with white borders where your design should have extended to the edge, or with critical text clipped off.
What Is Bleed?
Bleed is the extra area of your design that extends beyond the final cut edge of your card.
Here's why it matters: When cards are printed on large sheets and then cut to final size, the cutting machine has a tolerance of ±1/16" to ±1/8". If your background color or background image ends exactly at the intended card edge and the cutting machine cuts 1/32" inside where you intended, a tiny white paper edge will appear.
The solution: Design your background to extend 0.125 inches (1/8") beyond the final card edge on all four sides. This "bleed" area gets trimmed away, but ensures that if the cut is slightly off, the background still covers the full card surface.
Bleed specifications:
- Standard: 0.125 inches (3mm) beyond each edge
- Result: A card that should be 3.5 × 2 inches is designed on an artboard of 3.75 × 2.25 inches (with bleed)
- All background images and colors that extend to the edge must reach into the bleed zone
What Needs to Bleed?
Must extend into bleed zone:
- Background colors (solid or gradient)
- Background images (full-bleed photos)
- Decorative borders that extend to the card edge
- Any design element that intentionally touches the card edge
Does NOT need to bleed:
- Text, logos, and icons that are centered or positioned away from the edge
- Elements that have whitespace between them and the card edge
What Is the Safe Zone?
The safe zone (also called the "live area" or "content safe area") is the inner region of your card where all critical text and important design elements must be positioned. It provides a buffer against the cutting tolerance.
If critical text (your phone number, email address) is positioned close to the card edge, and the cutting machine cuts slightly inside the card boundary, that text could be clipped.
Safe zone specifications:
- Keep all critical text and important elements at least 0.125 inches (3mm) from the final cut edge
- This creates a safe zone that is 0.25 inches narrower on each dimension than the final card
- Safe zone dimensions: 3.25 × 1.75 inches (centered within the 3.5 × 2 inch card)
What must stay inside the safe zone:
- Your name
- Phone number
- Email address
- Website URL
- Any QR codes
- Your logo (unless it's part of an edge design)
- All readable text
What may be positioned between safe zone and bleed:
- Decorative ornamental elements that aren't readable (a background pattern, abstract marks)
- Empty space
Setting Up Your Artboard Correctly
The correct setup produces an artboard that has three distinct visual zones:
- Bleed zone (outermost): from bleed edge to cut edge — 0.125" on each side
- Cut line (the final card edge)
- Safe zone (inner area): 0.125" from cut edge — everything important lives here
In Adobe Illustrator
- Create a new document: 3.5 × 2 inches (this is your final card size)
- Go to: File → Document Setup → Bleed
- Set bleed to 0.125 inches on all sides
- Enable the bleed guide (it shows as a red line around the artboard)
- Draw your background to the red bleed line
- Add a guide 0.125 inches inside the artboard edge (safe zone)
- Keep all text inside these guides
In Adobe InDesign
- Create a new document: 3.5 × 2 inches
- In the New Document dialog: set Bleed to 0.125 inches on all sides
- Enable the Slug area if needed
- Use Object → Create Guides to mark the safe zone 0.125 inches inside each edge
- Export as PDF with Marks and Bleeds checked ("Use Document Bleed Settings")
In Figma
Figma doesn't have native bleed/export setup for print, but the workflow is:
- Create a frame: 3.75 × 2.25 inches (the final size plus bleed)
- Your final card edge is 0.125 inches inside each side — add a rectangular guide frame at the 3.5 × 2 inch final size, centered
- Your safe zone guide frame: 3.25 × 1.75 inches, centered
- Export at 300 DPI
In Canva (Print Ready)
Canva has built-in bleed support for print products:
- In a Canva design for business cards, enable "Show print bleed"
- Pink border = the bleed zone — extend backgrounds to that border
- Dotted line = the safe zone — keep text inside the dotted line
The Three-Layer View
Visualize your card layout with these three zones:
|← 3.75" (total with bleed) →|
+---------------------------+
|  bleed [0.125"]           |
|  +---------------------+  |
|  | safe [0.125" inset] |  |
|  |                     |  |
|  |   ← 3.25" →        |  |
|  |                     |  |
|  +---------------------+  |
|                           |
+---------------------------+- Background color → extends to outer edge
- Logo/text → inside the inner box
- Content critical to the card → inside the innermost space
Common Mistakes
1. Forgot to add bleed: Background stops at 3.5 × 2 inches. Result: white edges after cutting.
2. Text too close to edge: Phone number at 0.05 inches from edge. Result: potentially clipped in cutting.
3. Submitted at wrong resolution: Print requires 300 DPI minimum. A 72 DPI file designed on screen prints blurry.
4. Submitted artboard as final size, not bleed size: If your file is 3.5 × 2 inches and the printer expects 3.75 × 2.25 inches, the scaling mismatch causes problems.
5. QR code too close to edge: QR codes placed in the bleed zone may be cut partially, making them unscannable.
Checklist
- [ ] Artboard size: 3.75 × 2.25 inches (including 0.125" bleed on all sides)
- [ ] Background extends to bleed edge (3.75 × 2.25)
- [ ] Safe zone guide at 0.125" inside each card edge (3.25 × 1.75 content area)
- [ ] All text and logos inside safe zone
- [ ] QR code inside safe zone (minimum 0.75 inch size)
- [ ] Resolution: 300 DPI minimum
- [ ] Color mode: CMYK (not RGB)
- [ ] File exported with bleed enabled (PDF/X-1a or press-quality)
- [ ] Proof printed and reviewed at actual size
Get 10% off your first order
Join our list for practical printing guides, new finish ideas, and a welcome coupon for your first order.
No spam. Unsubscribe anytime.
Ready to put these tips into print?
Order Business CardsNot sure which option fits? Ask Pro Card Crafters