Business Card File Formats Guide: PDF AI EPS Bleed and Print-Ready File Requirements Explained
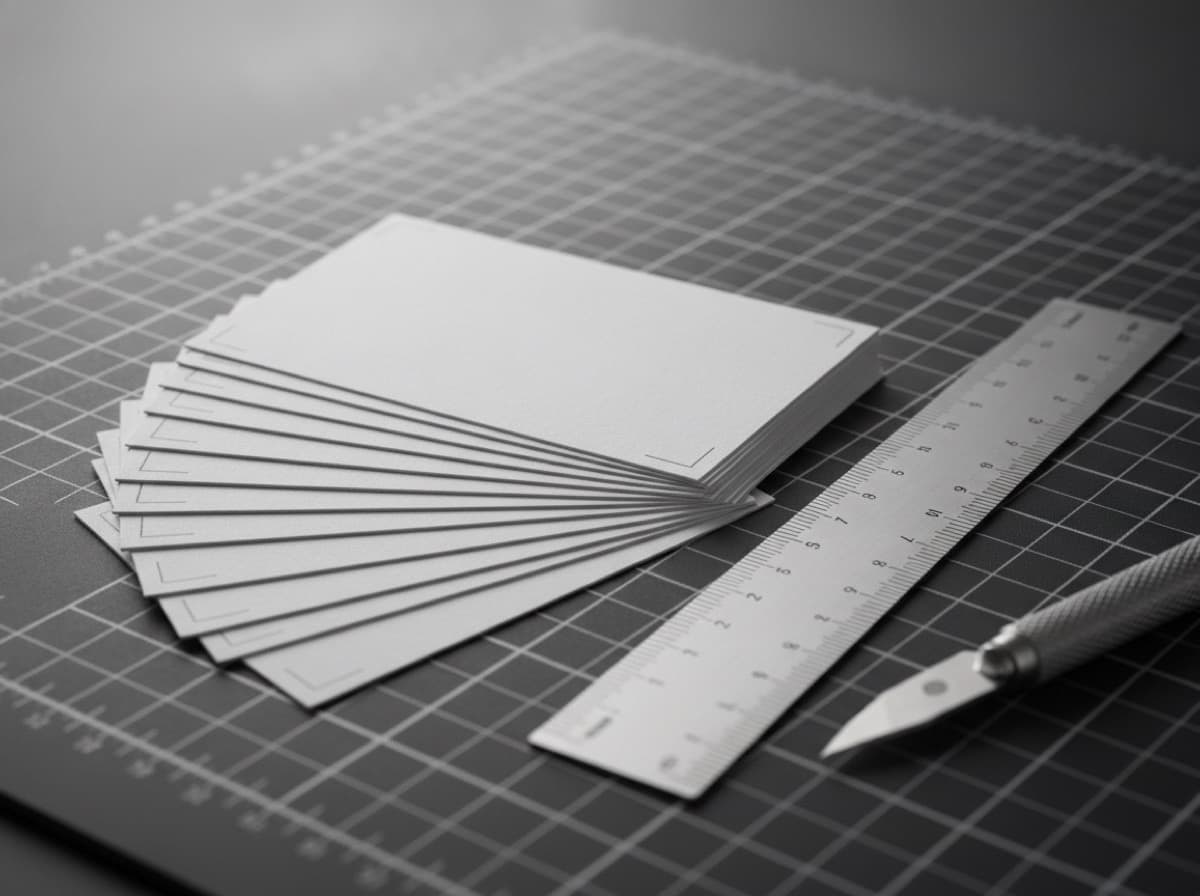
When you design a business card and send it to print, the file you submit must meet specific technical requirements to produce a card that looks exactly as you designed it. The most common problems that lead to poor-quality cards or rejected print orders are: wrong file format, missing or incorrect bleed, RGB color mode instead of CMYK, insufficient image resolution, and missing or incorrect fonts. This guide demystifies every technical requirement so you can submit a print-ready file with confidence.
Why File Format Matters for Business Card Printing
Commercial printing uses physical machines — offset presses and digital presses — that produce cards from physical ink on physical paper. The file you submit must describe your design precisely and completely, so the press produces exactly what you see on screen.
Screen ≠ Print. Your monitor displays color in RGB (Red, Green, Blue) light emissions. Your printer uses CMYK (Cyan, Magenta, Yellow, Black) ink. These are different color systems, and colors that look vivid in RGB (neons, electric blues, bright oranges) can shift significantly when converted to CMYK — which is why file mode matters.
File Format Options
PDF (Portable Document Format) — The Standard
PDF is the most universally accepted file format for business card printing and is supported by virtually every commercial printing service.
PDF/X-1a:
- A specific PDF standard defined for print production
- Requires: CMYK + spot colors only (no RGB), all fonts embedded, all images embedded, bleed defined within the file
- Most reliable format for commercial offset printing
- What this means for you: when exporting from Illustrator or InDesign, select "PDF/X-1a:2001" preset; it enforces most requirements automatically
PDF/X-4:
- More modern PDF standard; allows transparency and layers
- Accepted by most digital printing workflows
- Use when your design has transparency effects (drop shadows, blend modes) that PDF/X-1a would flatten incorrectly
Standard PDF (PDF 1.4 or later):
- Acceptable at many online printers with CMYK and embedded fonts
- Less strict than PDF/X; some print services accept this; check your printer's guidelines
When exporting PDF:
- Export as PDF/X-1a (for offset) or PDF/X-4 (for digital + transparency)
- Include bleed marks and crop marks
- Ensure the bleed value in the PDF export matches your document setup (0.125" / 3mm)
- Set compatibility to Acrobat 4/5 or newer
AI (Adobe Illustrator) — For Illustrator Users
- AI files are the native format for Adobe Illustrator, the most common professional design software for business cards
- Many printers accept AI files with specific requirements: CMYK mode, embedded (not linked) images, outlined fonts
- Outline your fonts: In Illustrator, select all text → Type menu → Create Outlines; this converts text to vector shapes so the printer doesn't need your font files; always do this before sending AI files to print
- Embed linked images: Links panel → select any linked images → Image menu → Embed; unembedded images print blank or low-quality
- Document color mode: File → Document Color Mode → CMYK Color (not RGB)
EPS (Encapsulated PostScript)
- EPS is an older vector format that predates PDF; still accepted by many printers
- Good for: logos and isolated vector artwork; less ideal for full-page layouts
- For a full business card layout, PDF is preferable to EPS
- If a printer requests an EPS: save from Illustrator as EPS; outline fonts; embed images
PSD (Adobe Photoshop Document) — Raster Files
- PSD is Photoshop's native format; works for designs where all elements are rasterized (photos, painted textures)
- Must be: CMYK color mode + 300 DPI minimum + include bleed in the canvas size
- Limitation: PSD files are entirely raster (no mathematical vector paths); fine for photo-heavy designs, but text and line art won't be as sharp as in a vector PDF or AI file
- When to use: photographic card designs where the primary visual is photography with text laid over
PNG / JPG — Usually Not Acceptable for Commercial Print
- PNG and JPG are screen/web image formats; they are typically not acceptable for commercial print submissions
- If a printer offers a "template" with PNG/JPG, it's usually for a simplified consumer-grade online tool, not professional commercial printing
- Problems: usually RGB (not CMYK), often insufficient resolution, compressed with lossy artifacts (JPG), no bleed support
- Use PDF, AI, or EPS for professional business card printing
What Is Bleed and Why Is It Required?
Bleed is the most important and most misunderstood technical requirement for business card printing.
The Problem Without Bleed
When a business card is cut from a large printed sheet, the cutting machine (paper cutter or die-cutter) cannot cut with perfect precision every single time — there is an acceptable variation (called "cutter tolerance" or "mechanical tolerance") of approximately 1/16" to 1/8" (1.5–3mm) in either direction.
If your design has a background color or image that ends exactly at the edge of the card:
- A slight cut variation toward the outside = a white sliver of paper showing on the edge of the card
- This looks like a printing error and is visually jarring
Bleed solves this: you extend your background color or image slightly beyond the intended card edge (into the "bleed zone"), so that even if the cut is slightly off, the color or image still extends to the card edge.
Standard Bleed Requirements for Business Cards
- US business card size: 3.5" × 2" (trimmed / finished size)
- Bleed area: Extend background color or images 1/8" (0.125") beyond each edge in all four directions
- Document size with bleed: 3.75" × 2.25" (add 0.125" to all four sides)
- Total bleed: 0.125" per side = 0.25" added to both width and height
In metric: 89mm × 51mm (trimmed) → document with bleed: 92mm × 54mm (3mm bleed per side)
Visual zones from center to edge:
- Safe zone (live area): All important content (text, logos, critical design elements) must stay at least 1/8" (0.125") from the trim line — this is the "safe zone" inside the trim
- Trim line: The intended cut line; where the card will be cut
- Bleed zone: The area from trim line to bleed edge (0.125" per side); background color/images should extend here; NO important content in this zone
- Bleed edge: The outermost edge of the document with bleed included
Summary: Your document is 3.75" × 2.25". The trim (cut) line is 0.125" in from all edges. Content (text, logo) stays 0.125" in from the trim line (= 0.25" from the document edge). Background extends to the full 3.75" × 2.25" document edge.
Safe Zone / Margin Requirements
- Safe zone: Keep all text, logos, and important design elements at least 1/8" (0.125") inside the trim line
- Visual guides call this margin the "live area" or "safe area"
- Content outside the safe zone risks being cut off in the final card
- A standard effective text margin of 3/16" to 1/4" (0.1875"–0.25") inside the trim line provides comfortable visual margin and print safety
- For small text: give additional margin; small text near the edge is vulnerable to both cut variance and visual awkwardness
Resolution: 300 DPI Minimum
- DPI (dots per inch): The density of pixels or dots in a raster image
- Screen resolution: 72 or 96 DPI — adequate for screens; inadequate for printing (images will look blurry and pixelated)
- Print resolution: 300 DPI minimum at the final print size
- Vector artwork (Illustrator paths, EPS, vector PDF) is resolution-independent — it scales to any size without quality loss; 300 DPI requirement applies to embedded raster images and photographs
- Check your raster images at final size: A 1" × 1" image at 300 DPI = 300 × 300 pixels; if you scale that image to 2" × 2" in your layout, it's now only 150 DPI — below the print minimum
Color Mode: CMYK
- RGB: Red, Green, Blue — used for screens, websites, and digital media; NOT for commercial printing
- CMYK: Cyan, Magenta, Yellow, Black — the four ink colors used in commercial offset and digital printing
- Always design in CMYK when creating files for commercial printing
- Converting RGB to CMYK after design: Can cause color shifts; ideally, design in CMYK from the start; if converting, visually check the result and adjust
- Pantone (Spot colors): Some printers offer Pantone spot color printing for exact color matching; if using Pantone, specify swatches as Pantone Solid Coated (e.g., PMS 485 C)
Fonts: Embedded or Outlined
- Fonts must be available to the printer to reproduce text correctly
- Option 1: Embed fonts — PDF/X-1a automatically embeds fonts when exporting from Illustrator or InDesign; verify in the export settings
- Option 2: Outline fonts (Create Outlines) — converts text to vector shapes; no font files needed; recommended when submitting AI or EPS files
⚠️ Never submit AI/EPS files with live (non-outlined) text to a printer — if they don't have your font, text will reflow or print with a substitute font.
How to Export Print-Ready Files
From Adobe Illustrator:
- Document Color Mode → CMYK
- Set document size to 3.75" × 2.25" (includes bleed)
- Bleed: 0.125" on all sides in Document Setup
- Outline all fonts: Select All → Type → Create Outlines
- Embed all images: Window → Links → select all → Image → Embed
- Export: File → Save As → PDF → Adobe PDF Preset: "PDF/X-1a:2001"
From Adobe InDesign:
- New Document: 3.5" × 2" with bleed 0.125" (InDesign handles bleed separately from document size)
- Color mode: CMYK
- Export: File → Export → Adobe PDF Print → PDF/X-1a:2001 preset
- In Marks and Bleeds tab: check "Use Document Bleed Settings"
From Canva (consumer-grade — limitations apply):
- Create design at 3.75" × 2.25" to include bleed zone
- Download: PDF Print (not PDF Standard) — Canva uses RGB internally; less ideal for professional offset printing
- Canva exports may not produce true CMYK; results may vary from what appears on screen
- Better: export design elements from Canva as SVG/PNG at high resolution and reassemble in Illustrator, or use a professional designer for final file prep
Summary Checklist
- [ ] File format: PDF/X-1a (offset) or PDF/X-4 (digital/transparency); AI or EPS with fonts outlined
- [ ] Document size: 3.75" × 2.25" (includes 0.125" bleed on each side)
- [ ] Bleed: background color and images extend to 3.75" × 2.25" document edge
- [ ] Safe zone: all text and logos at least 0.125" inside trim line (0.25" from document edge)
- [ ] Color mode: CMYK throughout (not RGB)
- [ ] Image resolution: 300 DPI minimum at final print size
- [ ] Fonts: embedded in PDF, or outlined in AI/EPS
- [ ] Images: embedded (not linked) in AI/EPS files
- [ ] Spot UV or die-cut layer: on separate named spot color layer (if applicable)
- [ ] Proof reviewed: check a soft proof before approving print production
Get 10% off your first order
Join our list for practical printing guides, new finish ideas, and a welcome coupon for your first order.
No spam. Unsubscribe anytime.
Ready to put these tips into print?
Order Business CardsNot sure which option fits? Ask Pro Card Crafters