Print-Ready PDFs: Getting Bleed and Trim Marks Right
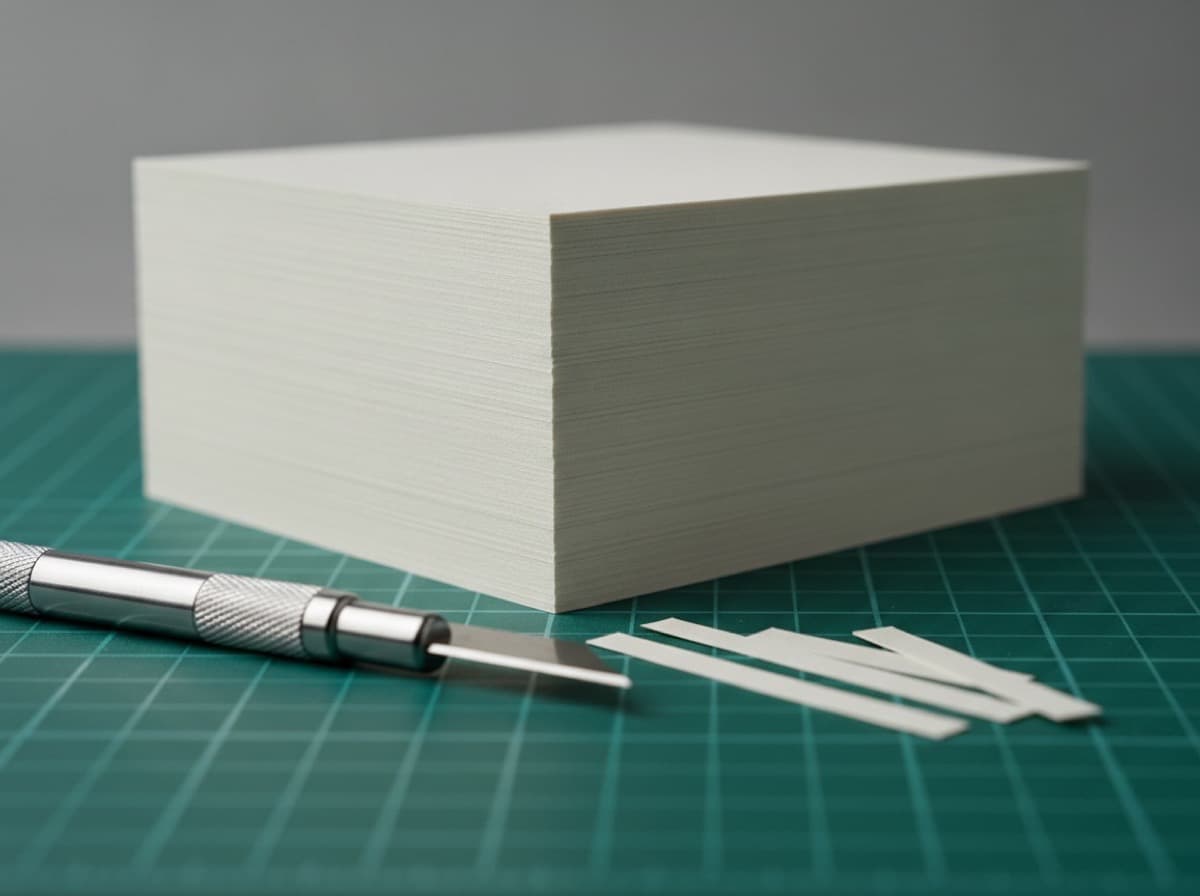
More than half of all print errors originate in the file itself. The most frequent culprit: a white edge appearing along the border after the job is cut. The fix is bleed — and understanding it is non-negotiable for print-ready artwork.

What Is Bleed?
Printing isn't done one sheet at a time. Large press sheets carry multiple copies, which are then cut down with a blade. That cutting process always introduces a small tolerance — typically 1–2 mm of variance. If your background color stops exactly at the intended trim edge, even a slight inward cut will expose the bare white paper underneath.
Bleed is the extra area of background artwork that extends beyond the trim line, ensuring that any cutting variance remains covered. The standard bleed margin is 3 mm on every side.
Three Key Zones Defined
| Zone | Position | Purpose | |------|----------|---------| | Bleed | 3 mm outside the trim line | Extends background to absorb cutting variance | | Trim (Trim Line) | The intended finished size | Where the blade cuts | | Safe Zone | 3 mm inside the trim line | Keep all critical text and logos within this boundary |
For example, a standard business card (90 × 50 mm) requires a working file size of 96 × 56 mm including bleed. Fill the entire 96 × 56 mm area with your background, but keep any text or logo that must not be cut off within the inner 84 × 44 mm safe zone.
PDF Export Settings for Print
In Adobe Illustrator or InDesign, go to File > Save As / Export > Adobe PDF and verify the following.
- Standard: PDF/X-1a:2001 (the print industry standard — flattens transparency and forces CMYK)
- Bleed: 3 mm on all four sides
- Trim Marks: checked
- Fonts: Embedded or outlined (converted to outlines)
- Color: confirm CMYK conversion
Preventing Font Substitution
One of the most frustrating post-press surprises is text rendered in a substitute font because the original wasn't embedded. The safest approach is to convert all text to outlines before saving the final file. Note that once text is outlined it can no longer be edited, so keep a separate editable copy of the source file.
Pre-submission Final Checklist
- [ ] 3 mm bleed applied on all sides
- [ ] All text and logos fall within the safe zone
- [ ] Fonts are embedded or converted to outlines
- [ ] Color mode is CMYK
- [ ] Image resolution is at least 300 DPI
- [ ] No unnecessary spot colors or hidden layers
- [ ] File saved as PDF/X-1a
Frequently Asked Questions
Q. If I skip bleed, will I definitely see a white border? A. Not always — but cutting tolerance is a constant reality, so bleed is insurance. Most print shops will either reject files without bleed or scale them up automatically, which can distort your design. Always include it.
Q. Do I need to draw trim marks manually? A. No. Never draw trim marks by hand — hand-drawn marks can overlap your artwork and cause errors. Enable the Trim Marks option in your PDF export dialog and they will be generated automatically and placed outside the bleed area.
Q. Can I submit a JPG file instead? A. Technically yes, but JPGs cannot carry bleed and trim metadata, and compressed images are prone to visible artifacts in text. PDF/X-1a is the strongly recommended format for professional print submissions.
Get 10% off your first order
Join our list for practical printing guides, new finish ideas, and a welcome coupon for your first order.
No spam. Unsubscribe anytime.
Ready to put these tips into print?
Order Business CardsNot sure which option fits? Ask Pro Card Crafters